Hi Doris,
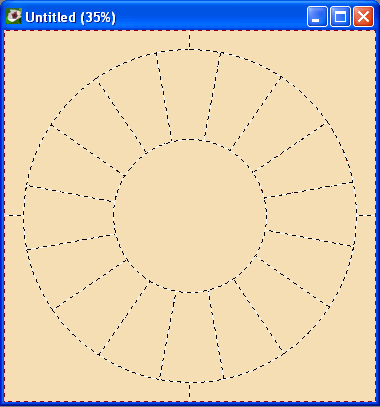
When you want to make a design like this with QA, you need to be a aware of one limitation in the software: it doesn't like patches or patchwork with holes in it. If you start your project trying to draw a full circle, that would leave you with a round inner patch and an outer patch with a circular hole in it. Since QA can't cope with that, you won't be able to get that result.
Knowing that, this is what I would do: first draw a couple of extra dividing lines, an remove those at a later stage. Step by step:
1. Create a new project (you could use your image as a background to help you draw, but here I will leave it out for clarity).
2. Set the 'Snap to grid' option to '2 Divisions'. To answer your other question: yes, the grid, the dots that will appear and the divisions are all related to the same thing, and setting it to 3 divisions, for example, would help you draw a 9-patch block (3 x 3).
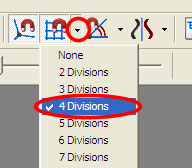
(Image shows 4 Divisions because I copied it from the manual, but that would work as well.)
3. Set the 'Symmetry' to '4 Rotations', and also switch on 'Snap to corner'.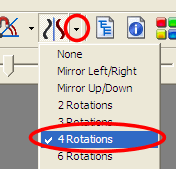
 4. Now use 'Straight Line'
 to divide the block like this:
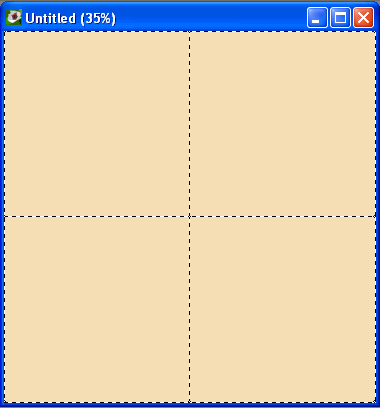 5. Then, choose 'Quarter Circle', move your mouse exactly onto one of the lines
 and draw your 1/4 circle to the next line. Thanks to the symmetry/snap options you will get a perfect circle, centered and all. (If you get extra lines extending from the circle, you didn't start close enough to the original straight line, use 'Undo' to try again or right-click on one of those unwanted lines to remove them).
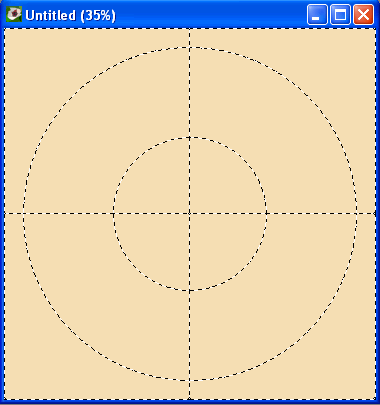 6. Switch off the 'Snap to corner' and 'Snap to grid', and change the 'Symmetry' option to '8 Rotations'.
 Also, switch back from 'Quarter Circle' to 'Straight Line'. Now you can draw the divisions inside the circle. Finally, you can remove the original dividing lines by right-clicking on them. You can't remove the outermost ones, because that would once more create a patch with a hole in it.
 PS.
PS. To see the size of the circles: you can use the location of the mouse cursor, shown in the status bar at the bottom, as a guidance for getting the size right.
Arnout