


Forum board: Quilt Assistant
For anything related to the QuiltAssistant software.
Tutorial #1: Paper piecing with QuiltAssistant
Author: 2008-03-08
How do you make a paper piecing pattern of a picture using Quilt Assistant? A short tutorial.1. Start at the beginning
To follow this tutorial hands-on you will need the example file:

Right-click on the image above and choose 'save image' to store the picture (dolfin.png) om your computer. Success? Then now is the time to start Quilt Assistant. Of course, you already have this installed, right? 😀
(Credit where credit is due, source for the image: http://www.clker.com)
You will see the following welcome screen:
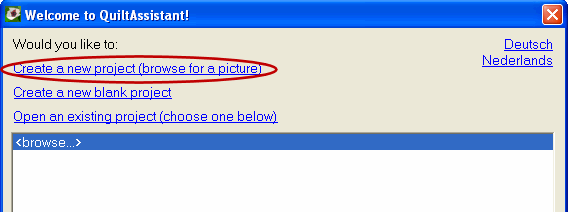
Click on the marked line and find the picture you just saved on your computer. When you open it, you will get a dialog window where you can set the size of the design, among other things. We will choose 8" x 8" (or 20 x 20 cm), you can always change this later on. Confirm your choice with the OK-button and if everything went well you will now see the image in the QuiltAssistant-window.
2. Draw lines
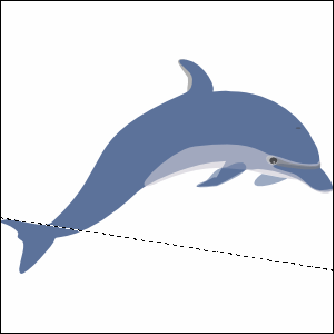
Time to make a pattern! To draw line click and drag with your mouse inside the window containing the image. Try it, and you will see that the software will always extend your line to the edges of the window.
Tip #1: Not happy with a line you just drew? Choose 'Undo' from the 'Edit'-menu, or keep your fingers near the Ctrl-Z key combination.
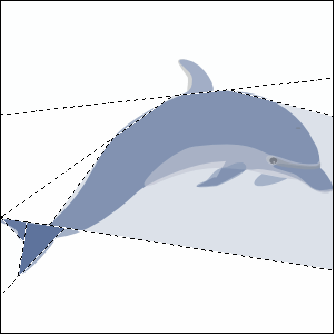
Now use Ctrl-Z/Undo to remove any experimental lines and follow the example below:
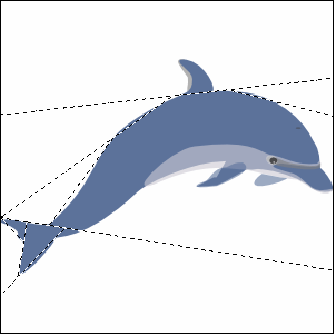
We will add a couple more lines, first look carefully to find the order to draw the lines in to get something like this:
Tip #2: When you want to have a line connect to the same point as earlier lines, then use the function 'Snap to corner':
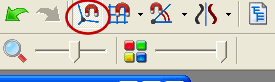
The mouse cursor will now show a small magnet when you move close to existing corners in the design. You can change the distance at which this occurs on the toolbar. Got the hang of it? Then now is a good time to save your design. Choose 'Save' from the 'File' menu, and when you make no other changes your design will get the name 'dolfin.qa2', derived from the name of the picture.
Another to try now is the color-slider:
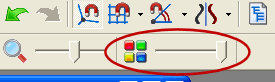
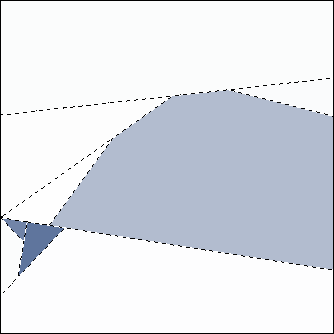
When you move the slider to the left, you will see the orignal image, as shown above. Slide further to the right and you will see how Quilt Assistant automatically colors the different shapes in the design:
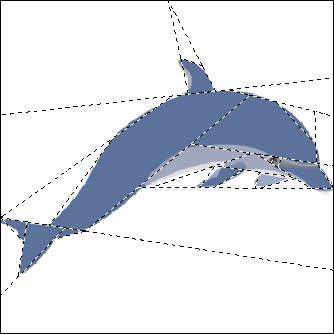
Put the slider back to the left-most position and finish the design:
Of course, you don't need to do all the details exactly the same as the example; try some different tactics to see what works and what doesn't. And don't forget Ctrl-Z!
Tip #3: There are other ways of drawing and removing lines, but we do not use them here. Why? Using the approach shown here, you can make every paper piecing pattern you want, and, more importantly, every pattern you draw this way is (at least in principle) suitable for paper piecing.
3. Coloring
Choose 'Coloring' from the menu 'Mode', of use the keyboard: C. QuiltAssistant will now show you how it colored the shapes (if necessary, move the color-slider to the right-most position). Probably, this looks pretty nice already, but there is always room for improvement. You can 'pick up' a color from the design using the right mouse button and color shapes using the left mouse button. The end result could look something like this:

4. Finishing touches
Save first, of course. After that, you can save print the pattern, we will save detailed instructions on that for a later lesson. If you have Electric Quilt, you can also export the design to EQ5 or EQ6. Use menu 'File', 'Export', 'To Electric Quilt...'.
Finally, you can download my version of the design as a ZIP-file.
Hope you enjoyed this tutorial. Any questions, unclarities, additions? Do share them!